Short answer
Before emergency vehicle decontamination begins, assess ten risks: body fluid exposure, hidden sharps, chemical inhalation, incompatible product mixing, airborne organisms in a closed compartment, oxygen and electrical hazards, vehicle movement in the bay, crash damage, physical strain and slips, and crew fatigue or distress. A short pre-work check, the right protective equipment, and a written procedure prevent most injuries.
Why assess safety risks before cleaning a vehicle?
Decontamination is meant to make a vehicle safe for the next crew and patient, but the cleaning itself carries risks. The people doing the work handle body fluids, sharps, and chemicals in a small, cluttered space, often right after a stressful call.
Emergency medical work is already one of the more hazardous occupations. Ambulance services recorded 7.4 total recordable injury and illness cases per 100 full-time workers in 2023, about three times the private-industry rate of 2.4, according to the Bureau of Labor Statistics. Some of those injuries happen during cleaning and restocking rather than patient care.
A brief risk assessment before starting, even a mental checklist, helps you choose the right protective equipment, products, and approach. The ten risks below apply to ambulances, fire apparatus, and police vehicles, with some variation by vehicle type.
Treat this list as a starting point for your own procedure. Your infection control officer and safety committee can adapt it to your fleet.
Risks 1 and 2: body fluid exposure and hidden sharps
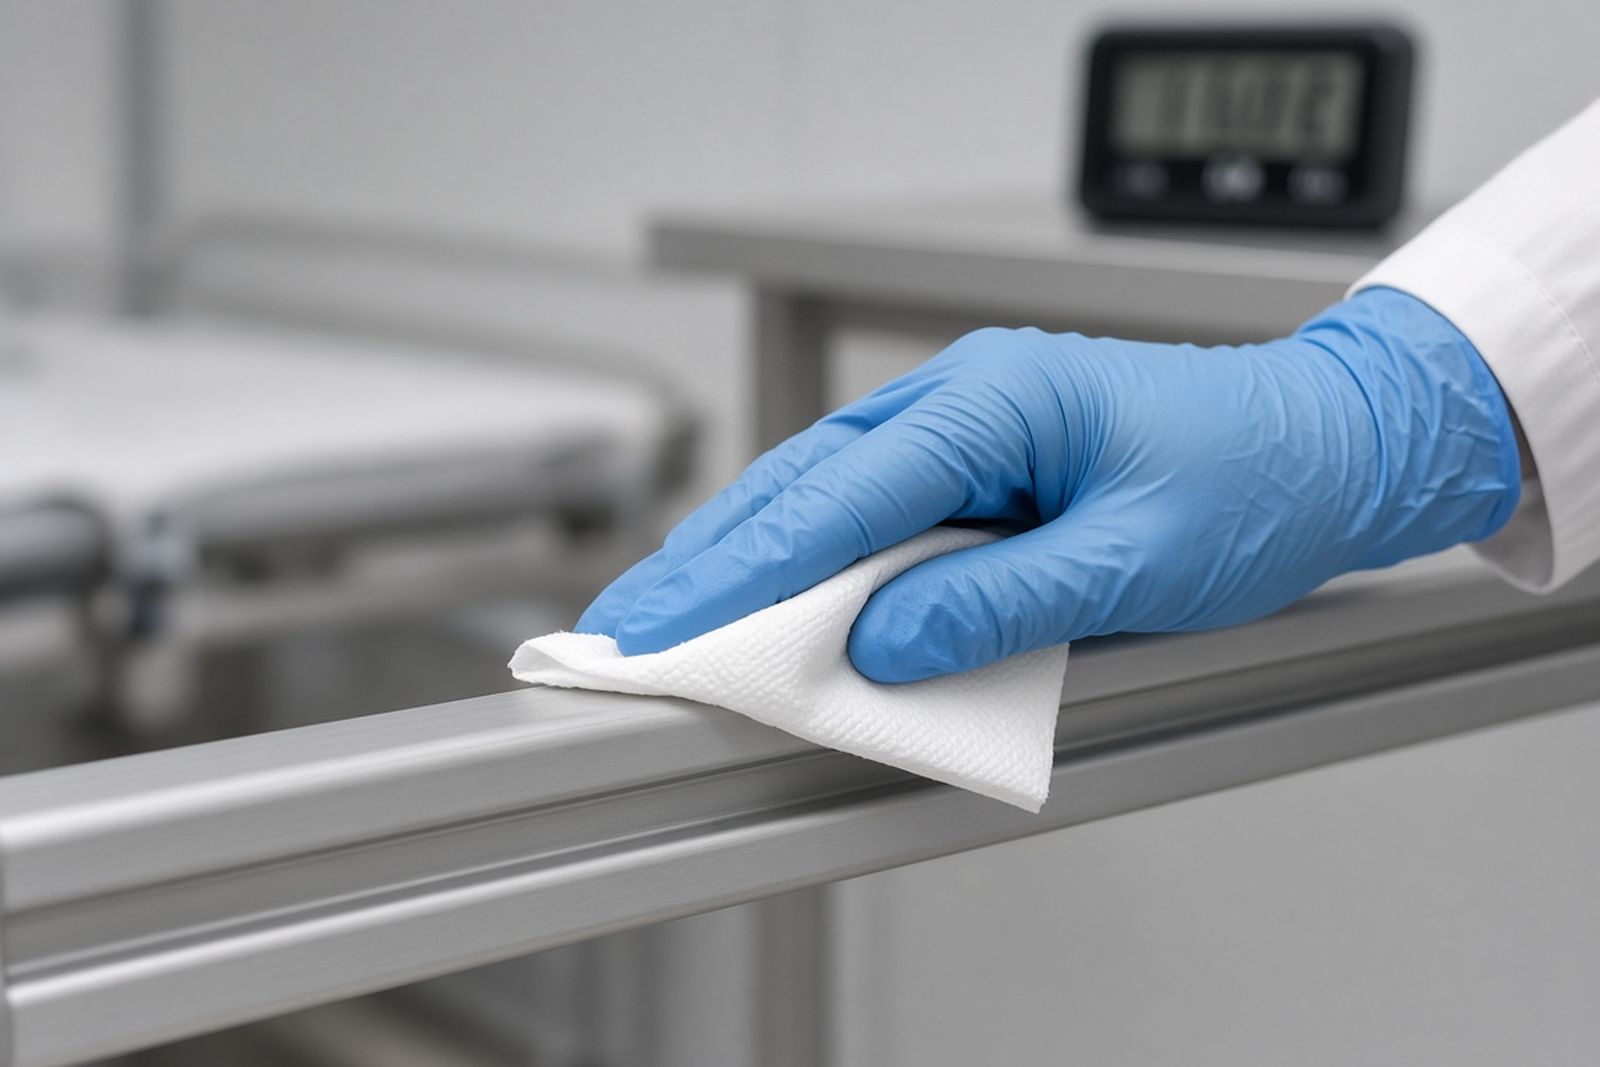
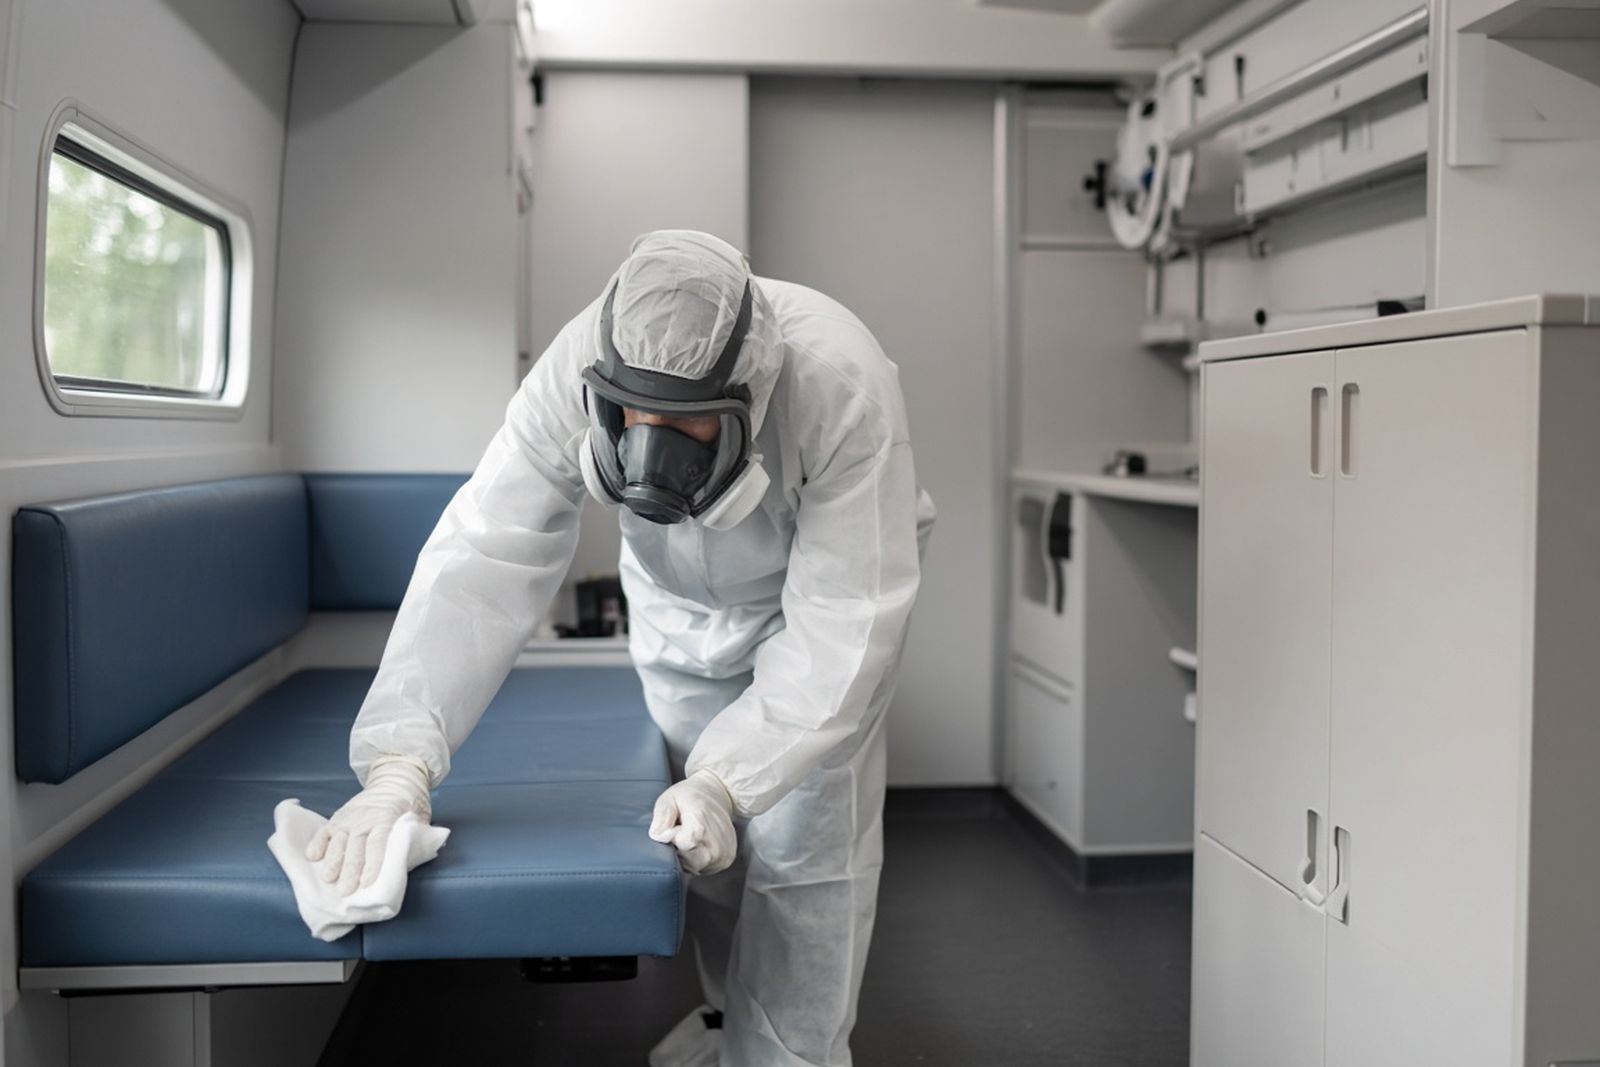
Risk 1 is direct exposure to blood and body fluids. Fluids on cot rails, floors, and cabinet surfaces can reach skin, eyes, or mucous membranes during cleaning, especially when crews spray or scrub. Gloves, eye protection, and fluid-resistant gowns reduce that risk, and wiping is usually safer than spraying heavily soiled areas.
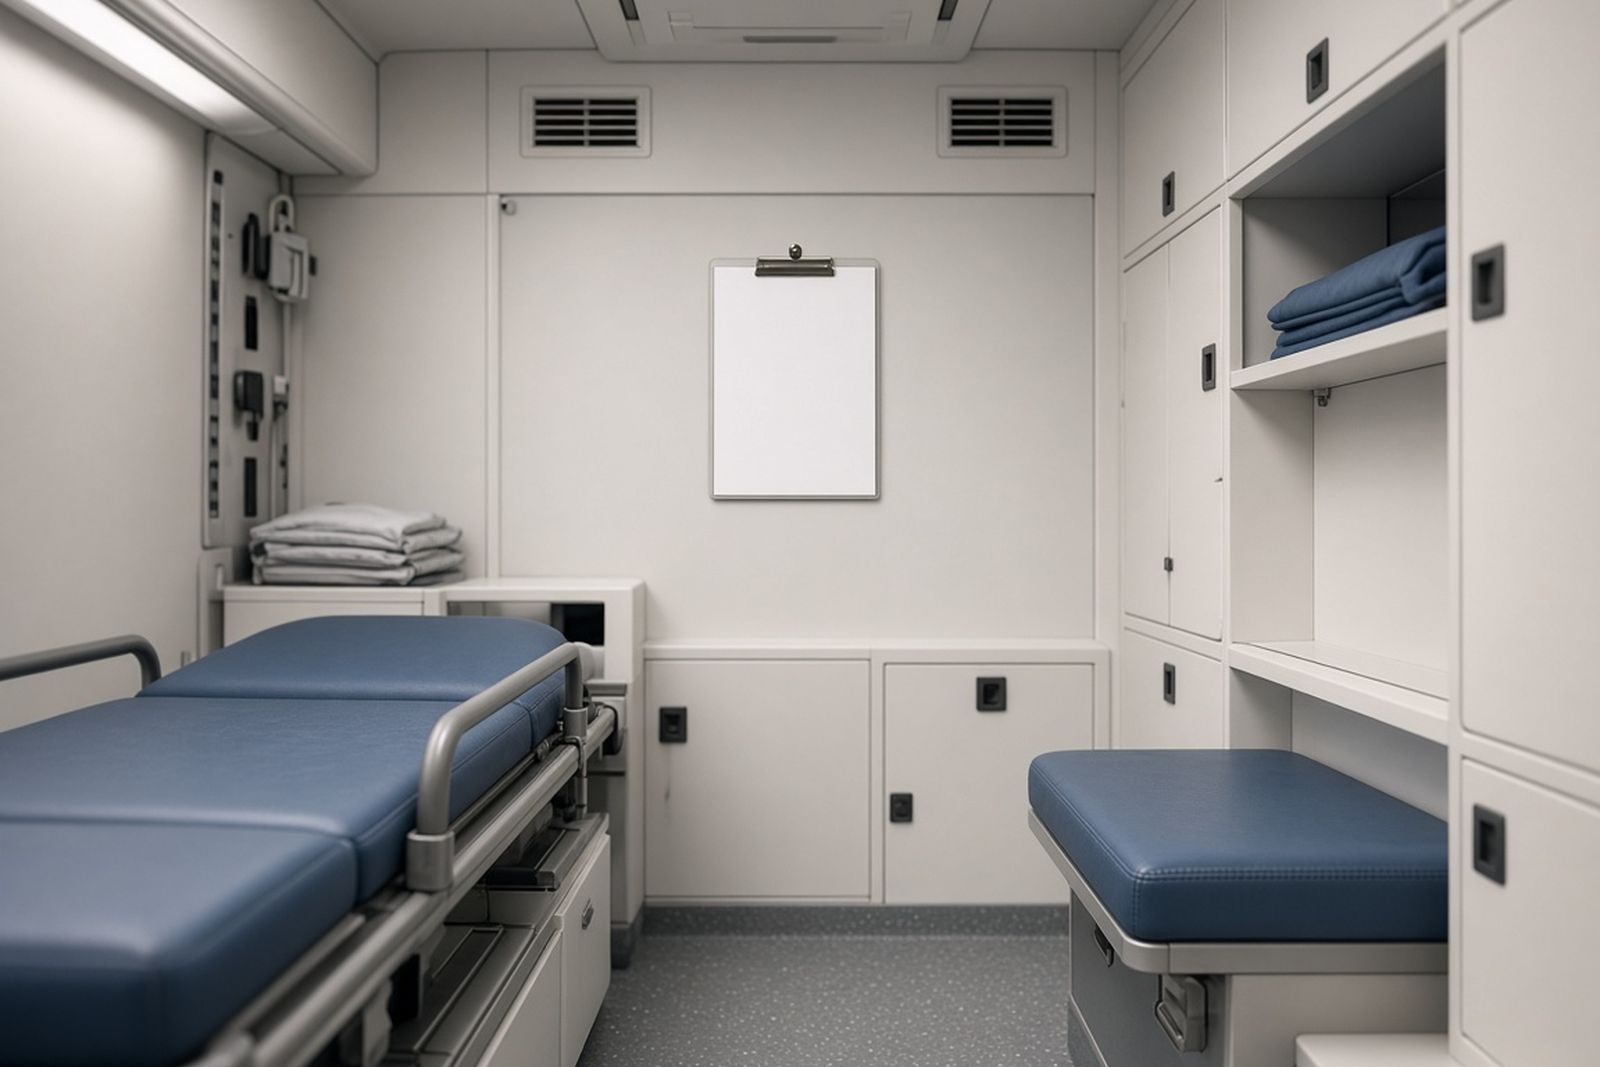
Risk 2 is hidden sharps. Needles, lancets, broken ampules, and glass can end up under the cot, between seat cushions, in floor channels, and inside cabinets after a busy call. Reaching blindly into those spaces is a common path to needlestick injuries.
Before cleaning, look first and use tools, such as tongs or a flashlight and mirror, to check hidden areas. Keep a sharps container within arm's reach and never recap needles.
If an exposure happens, follow your agency's exposure reporting procedure right away. Prompt reporting matters for treatment and follow-up.
Risk 3: breathing in cleaning chemicals
Risk 3 is breathing in cleaning chemicals. Patient compartments are small, and many disinfectants give off vapors or form mists when sprayed. Closed doors and warm temperatures make exposure worse. Crews may experience eye, nose, or throat irritation, headaches, or asthma symptoms.
Open the rear and side doors during cleaning when weather and privacy allow, and run ventilation fans if available. Wipes or cloths dampened with product usually release less into the air than spraying. Check the product's safety data sheet for respiratory hazards and required protective equipment.
Risk 4: mixing incompatible products
Risk 4 is mixing incompatible products. Some agencies keep several chemicals on hand, and crews may reach for whatever is closest. Bleach mixed with ammonia-based or acidic cleaners can release harmful gases. Applying a second product over a wet first product can also create unexpected reactions.
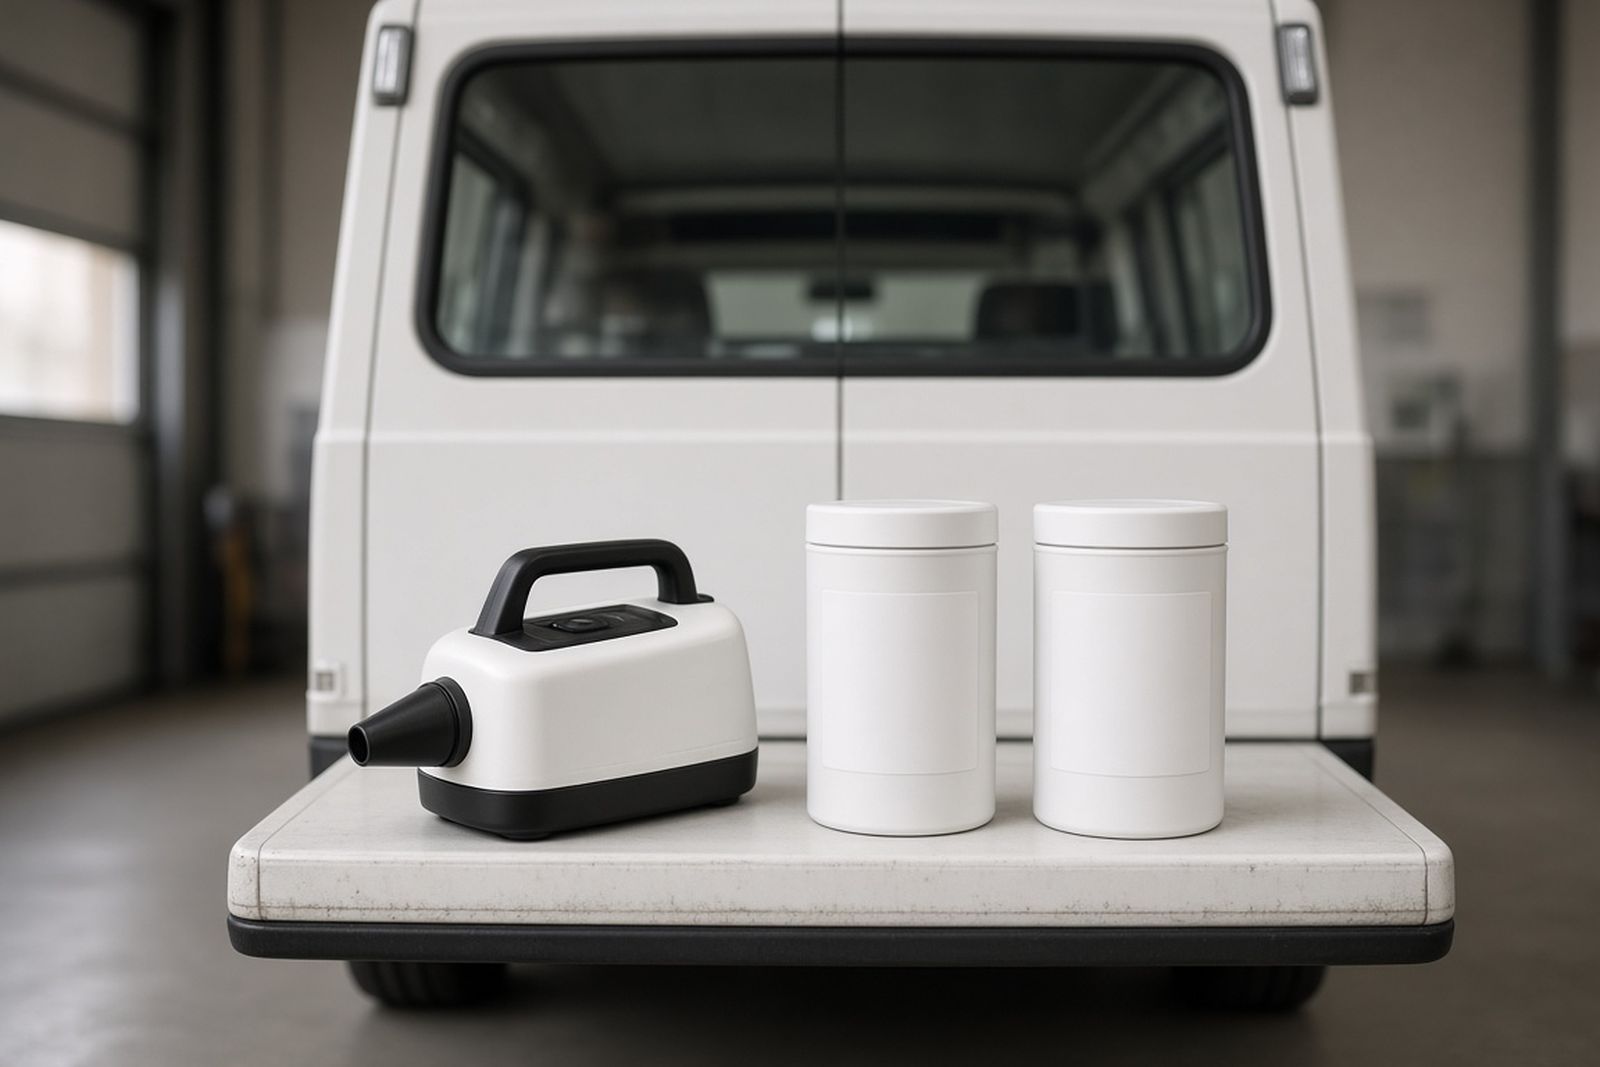
Standardize on a small number of products, label them clearly, and train crews never to layer or mix them. If a unit needs a different product for a specific organism, rinse or wipe the first product away before applying the second.
Risk 5: airborne organisms in a closed compartment
Risk 5 is airborne contamination in the patient compartment. After transporting a patient with a respiratory illness, especially one who coughed or required airway procedures, organisms may remain in the air for a time. Sealed compartments with recirculating ventilation can hold them longer.
Your infection control plan may call for opening doors, running exhaust fans, or waiting before entering the compartment for cleaning. Respiratory protection, such as a fit-tested N95 or higher, may be required depending on the illness.
Ventilation intakes and filters can also collect contamination. Check your vehicle manufacturer's guidance on cleaning or replacing HVAC filters, and include intakes in your wipe sequence.
When in doubt about a specific illness, ask your medical director or infection control officer before crews begin work.
Risks 6 and 7: oxygen, electrical systems, and vehicle movement
Risk 6 involves oxygen, batteries, and electrical systems. Oxygen cylinders and regulators create an oxygen-enriched environment near leaks, which increases fire risk if flammable products such as alcohol-based cleaners are used nearby. Monitors, suction units, and other devices have batteries and electrical components that can be damaged by liquid. Turn off and disconnect devices as the manufacturer directs, keep flammable products away from oxygen equipment, and avoid saturating electrical areas.
Risk 7 is vehicle movement in the station or bay. Crews cleaning a unit may be working near other vehicles that are returning, departing, or being repositioned. Diesel exhaust in enclosed bays adds another hazard. Chock wheels, set parking brakes, use exhaust capture systems where available, and mark the area where cleaning is underway.
Risk 8: crash damage
Risk 8 is crash damage. A vehicle involved in a collision may have broken glass, sharp metal, deployed or undeployed airbags, leaking fluids, and weakened structures. Cabinets and mounts may be loose. Wait for the fleet's mechanics or investigators to clear the vehicle, and wear cut-resistant gloves when handling damaged areas.
Each of these hazards is easy to overlook when the focus is on germs. Adding them to a pre-work checklist keeps them visible.
Risks 9 and 10: strain, slips, fatigue, and distress
Risk 9 is physical strain, slips, and falls. Cleaning a patient compartment involves bending, reaching overhead, kneeling, and climbing in and out of the unit, often on wet floors. Removing seat cushions, lifting stretchers, and hauling waste add strain. Use nonslip footwear, keep floors as dry as practical, use steps rather than jumping from the unit, and get help with heavy lifts.
Risk 10 is fatigue and emotional distress. Crews are often asked to clean a unit at the end of a long shift or immediately after a traumatic call involving serious injury, a child, or a death. Exhaustion increases the chance of mistakes, and cleaning up after a difficult call can intensify its emotional impact.
Agencies can reduce this risk by assigning heavy decon to rested staff or an outside provider, allowing crews time to decompress before cleaning, and making peer support or employee assistance resources easy to reach. If a call involved suicide, remember that crews can also be affected; the 988 Suicide and Crisis Lifeline is available by call or text.
Supervisors should feel empowered to take a unit out of service rather than push a tired crew through a heavy clean.
Illustration: a pre-work check that prevented an injury
The following illustrative walk-through shows the checklist at work. A volunteer rescue squad's ambulance returns from a chaotic overdose call. The patient received multiple medications and airway support, and the crew was working quickly in cramped conditions. A newer member is assigned to clean the unit.
Before starting, the squad's decon lead walks through a short checklist with her. They open the doors to ventilate, turn off the oxygen at the main cylinder, and disconnect the monitor. Using a flashlight, they check under the cot and find an uncapped needle lodged in the mounting track and a broken vial between the bench seat and the wall. Both go into the sharps container with tongs.
They then clean the compartment with the squad's standard wipes, working top to bottom. The decon lead reminds her not to spray near the oxygen outlet. When they finish, the lead asks how she is doing after the call and mentions the squad's peer support contact. The unit returns to service, and no one is injured.
The pre-work checklist
A short checklist, posted in each station or kept in each unit, turns these risks into routine steps.
- Is the vehicle secured, with brakes set and exhaust controlled?
- Has crash damage been cleared by mechanics or investigators?
- Are doors open or ventilation running?
- Is oxygen turned off and are devices disconnected as directed?
- Have hidden areas been checked for sharps using tools?
- Is the right product on hand for the exposure, and are other products put away?
- Is the required protective equipment on, including eye protection?
- Is the person cleaning rested and ready, or should someone else take over?
How do you build these checks into daily practice?
Safety checks work best when they are short, consistent, and supported by leadership. Include them in new-hire training and periodic refreshers. Review exposure and injury reports for patterns, such as repeated needlesticks from the same location in a vehicle, and adjust procedures or equipment accordingly.
Talk with crews about what slows them down or tempts them to skip steps. Their answers often point to practical fixes, like moving a sharps container or stocking wipes in a more accessible spot.
Your state EMS office and medical director can confirm requirements for exposure control plans, respiratory protection, and vehicle safety standards.